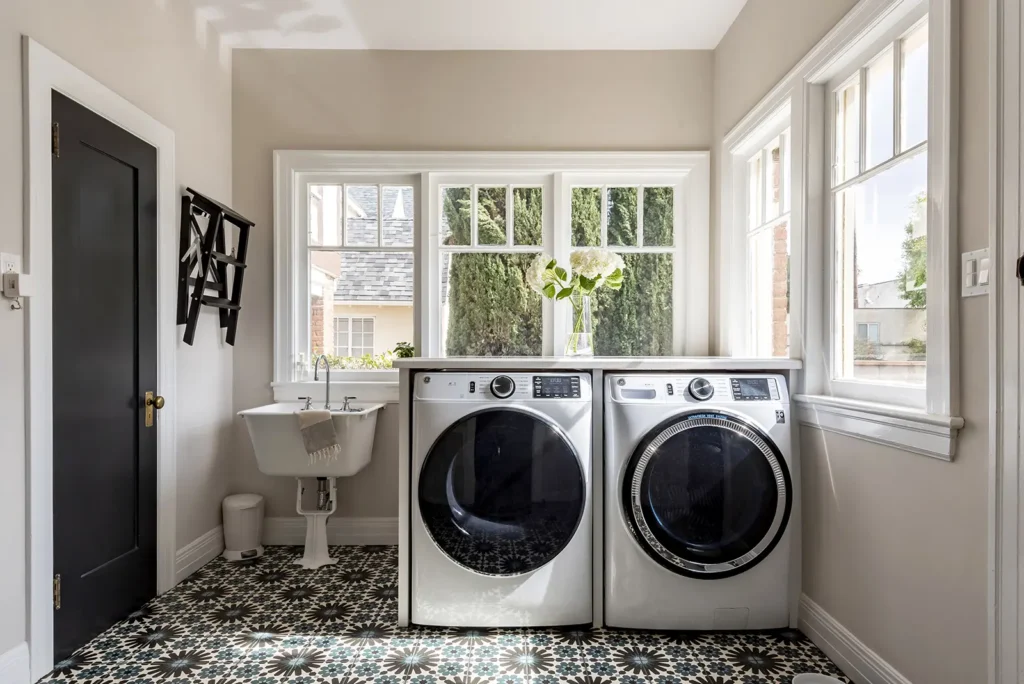
Comprehensive Guide to Washer and Dryer Installation
Installing a washer and dryer can appear to be a straightforward task, but there are numerous factors that must be considered to ensure a successful installation. This comprehensive guide aims to simplify the installation process, covering everything from basic placement to the more complex requirements like plumbing, electrical connections, and ventilation. Understanding these areas will help you effectively set up your appliances while ensuring they operate efficiently and safely.
Understanding Basic Washer and Dryer Installation
The installation of a washer and dryer typically involves four primary tasks: placing the appliances, connecting them to existing hookups, leveling them, and testing their functions. Let’s explore these stages more closely:
1. Placing the Appliances
The first step in the installation process is placing the washer and dryer in their designated space. This requires careful consideration of several factors, including:
- Space Availability: Measure the area to ensure it can accommodate both appliances comfortably.
- Accessibility: The location should allow easy access for loading and unloading laundry.
- Proximity to Hookups: Make sure the washer is near water supply lines and drain systems.
2. Connecting to Existing Hookups
In most cases, the most straightforward installations involve connecting the appliances to pre-existing hookups. This includes connecting water hoses to the washer, as well as plugging in the dryer to an electrical outlet or connecting it to a gas line for gas dryers. The following are some key points when connecting to existing hookups:
- Water Supply for Washers: Ensure you connect the hot and cold water lines correctly, typically red for hot and blue for cold.
- Drainage for Washers: The washer’s drainage hose should be securely positioned within the standpipe or drain.
- Electrical Connections for Dryers: For electric dryers, ensure the circuit can handle the required amperage.
3. Leveling the Appliances
Once positioned and connected, leveling the appliances is essential. An unlevel washer can cause excessive vibration during cycles, leading to noise and operational inefficiency. Here’s how to level them properly:
- Check the manufacturer’s manual for specific instructions on leveling.
- Adjust the feet of the appliances until they sit evenly on the floor using a level tool.
- Ensure the appliances are stable and do not rock by pushing them gently.
4. Testing the Appliances
After everything is set up, the final task is testing both appliances. This includes:
- Running a short wash cycle to check for leaks and proper drainage.
- Starting the dryer to ensure it heats up effectively and ventilates correctly.
When to Consider a Larger Project
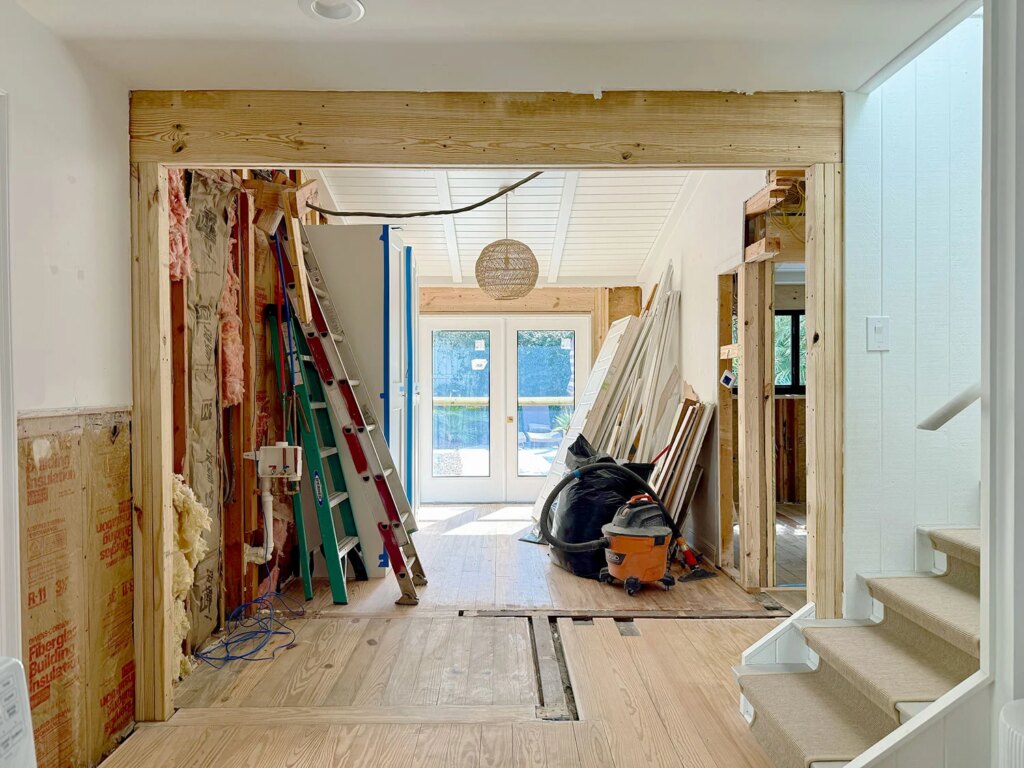
While basic installation is often manageable for many homeowners, there are instances where a larger project is necessary. This may involve new plumbing, electrical service, gas lines, dryer ventilation, or even obtaining permits. Here’s a breakdown of potential larger projects you might encounter:
1. New Plumbing
If your laundry area does not have existing water supply lines or if the lines are outdated, you may need professional plumbing services to install new supply and drainage systems.
2. Electrical Service Upgrades
Older homes may not have the amperage needed for modern washers and dryers, particularly electric models. Upgrading your home’s electrical service may require hiring a licensed electrician to ensure the power supply can handle the load safely.
3. Installing Gas Lines
If you are opting for a gas dryer and do not already have a gas line, installing one should be performed by a qualified professional. Improper installations can lead to dangerous gas leaks.
4. Ventilation Requirements
Proper ventilation is crucial for dryer safety and efficiency. If your space lacks appropriate ductwork or vents, consider hiring a professional to install them to prevent excess lint buildup and improve airflow.
5. Permits and Local Regulations
In certain areas, you may need permits for plumbing or electrical work. Check with your local regulations to ensure compliance and safety.
Cost Comparison: DIY vs. Professional Installation
The choice between performing a DIY installation and hiring a professional can significantly impact both costs and results. Below is a comparison of the potential costs associated with each option:
| Cost Aspect | DIY Installation | Professional Installation |
|---|---|---|
| Labor Cost | Free (Personal labor) | $150 – $500 on average |
| Tools/Equipment | $50 – $200 (if needed) | Included in service fee |
| Potential Repairs | Cost variable (possible future repairs) | Less likely with professional expertise |
| Time Invested | Several hours to a day | Typically completed in a few hours |
Conclusion
Installing a washer and dryer may seem like a simple home improvement task, but it can involve several key steps and decisions. Understanding the basic installation process is essential, as is recognizing when to engage professionals for more complex situations. By thoroughly planning your installation and being aware of the implications of DIY versus professional help, you can ensure that your laundry appliances operate effectively and safely for years to come.